Historic Preservation DIY: Plaster Wall Repair
Taking on old house projects can be a rewarding experience, as it allows you to put your own personal touch on your historic home. While in many cases, the best option is to hire a skilled tradesperson who is knowledgeable about older buildings, such as those found in our Online Directory of Products and Services, there are some tasks you can take on yourself. With proper guidance, putting your own time and effort into improvements and repairs on your historic property can be fulfilling and, in a way, make you part of the building’s history. However, it's important to approach these projects with caution and make sure you have the necessary skills and tools to complete them safely and effectively. It's also important to have a clear plan in place to avoid any unexpected surprises or delays.
Repairing plaster can seem like a daunting task but, to make it a bit easier, we’ve broken it down to four simple setps with the help of master plasterer, Emmett O’Carroll, of O’Carroll Traditional Plaster and Mouldings. This repair method uses modern gypsum plaster. Using traditional lime plaster for repairs is a bit more complicated and unless you are a very skilled DIYer, a job best left for the experienced plasterer.
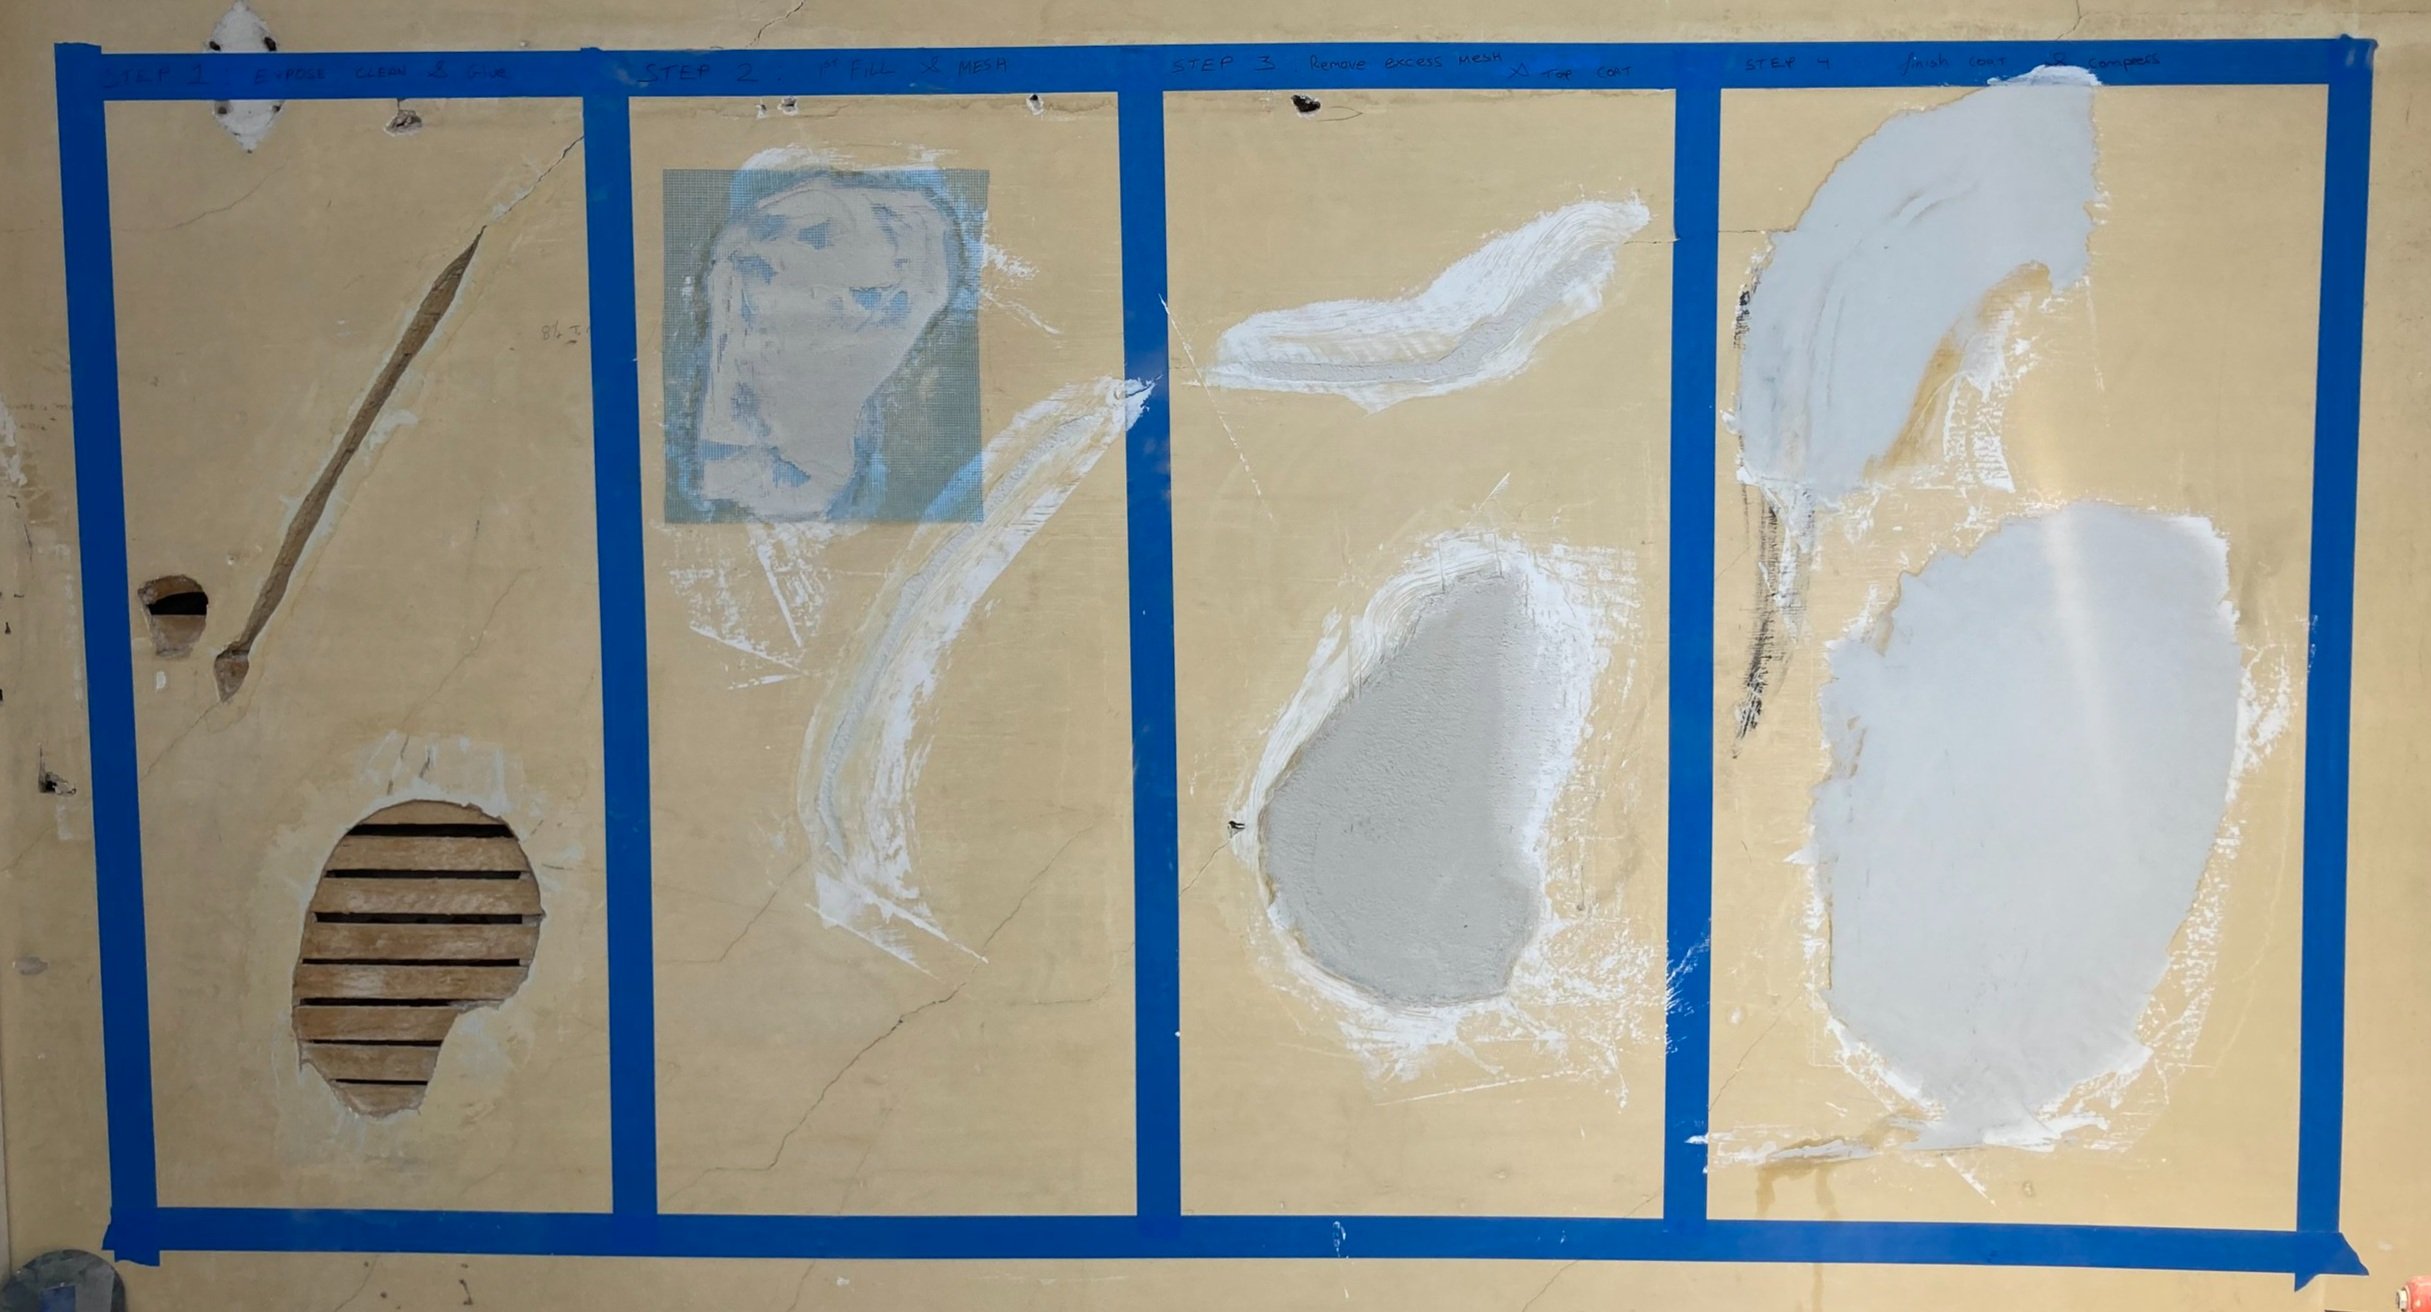
Check out our 4-step guide to doing your own plaster repairs
Step 1: Expose, Clean, and Glue
Fully exposing and cleaning cracks and holes in plaster is crucial before applying any materials. For cracks, use a utility knife to slightly broaden the crack to a “V” shape and expose the lath beneath. For large areas of loose plaster, remove all plaster back to the point where it is structurally sound. All surfaces should be cleaned of dirt, dust and loose plaster. Then using a paint brush, apply a bonding agent to all surfaces to be plaster coated, including the lath and the sides of neighboring plaster. For this, O’Carroll uses Bond All Exterior.

Step 2: 1st Fill and Mesh
Next, the basecoat of plaster should be applied. O’Carroll uses Structo-Lite, a lightweight gypsum plaster that he notes to be very strong. The basecoat should cover the entire area of the crack or hole. Next, a layer of mesh should be embedded into the wet basecoat using a putty knife. Mesh is not needed when repairing thin cracks. By this step, the new plaster should still be slightly recessed compared to surrounding surfaces. Wait at least a day to allow plaster to dry before applying a second coat.


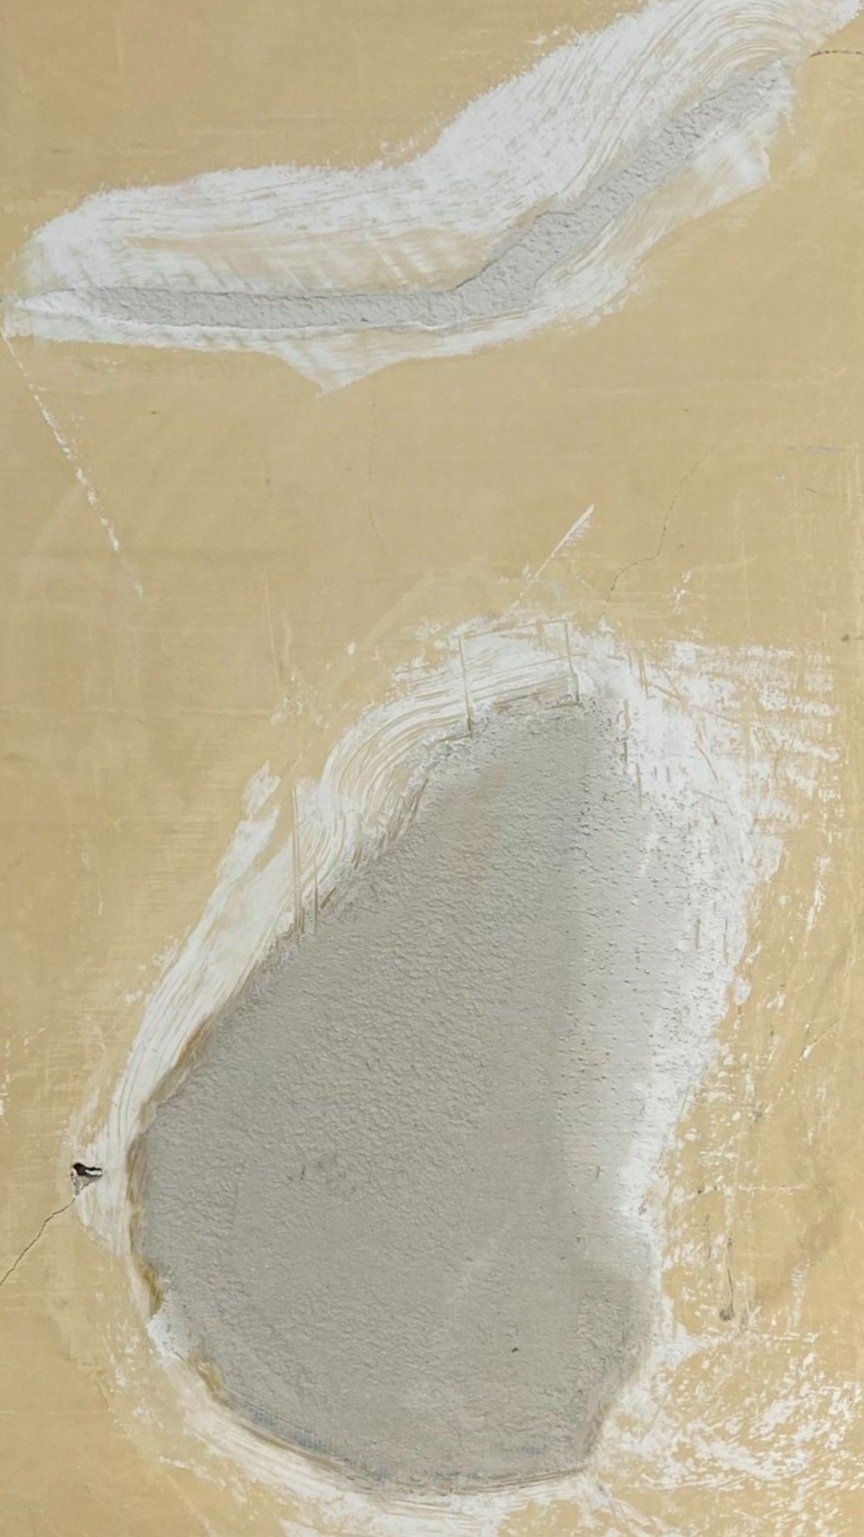
Step 3: Remove Excess Mesh and Add Topcoat
Use a utility knife to cut away excess mesh to just inside the perimeter of the repair area. A topcoat of plaster (Structo-Lite) should be applied that conceals the last of the mesh and fills the new plaster flush against the wall. Be careful not to fill the topcoat beyond flat with surrounding surfaces. Again, wait at least a day to allow plaster to dry before applying additional coats. Note: after this step is completed, the crack or hole is considered fixed, and additional treatment is cosmetic.
Step 4: Finish Coat and Compress
After the plaster has been given adequate time to dry (> 24 hrs.), this would be the time to apply a finish coat. O’Carroll uses Diamond Veneer Finish for his finish coat, but he mentioned sheetrock mud can also be used. The general rule for the finish coat is to apply multiple thin layers, rather than one or two thick layers. The more finish coats applied to the plaster, the less prone it will be to shrinking and cracking over time. As each layer of the finish coat is drying, use the trowel to compress the layers to create a smooth polished surface. If sheetrock mud is used, sanding is required to create the smooth surface.

And you’re done!
Check out all four steps, side-by-side below
We hope that you’ve found this plaster repair guide helpful. Many thanks go out to Emmett O’Carroll for his help in putting these steps together. All photos were taken at a plaster repair workshop on May 31, 2023 at Centennial Hall in North Hampton conducted by Emmett in collaboration with the New Hampshire Preservation Alliance and the Friends of Centennial Hall.
Would you like to get in touch with Emmett? You can reach him at:
O’Carroll Traditional Plaster & Mouldings
(603) 380-8887
emmettoc@hotmail.com
Instagram: @ocarroll_traditional_plaster
Are there any DIY projects you’d like us to feature next? Let us know!